Houston, we have a cast. Halleluiah! And she is off to school tomorrow. Maybe the world will return to some semblance of order.

Let me now regale you with a tale of two shirts. Two shirt projects, that is. I have been promising details on the fuzzy-heart shirt project, but to keep you reading to the end, I’ll start with the tie-dye project. I know, so crafty of me (no pun intended!)
***Spoiler alert: this will be a long post! But full of beautiful color photographs!
My friend is a tie-dye guru. On Friday, she brought scads of dye, rubber bands and other chemicals, as well as her two boys, to our house for a tie-dying soiree. Does it seem like there were waaaay too many commas in that sentence?


It turns out that there is quite a bit of adult-centric prep that goes into “real” tie dying. What we did is not mix a little water in the pre-stocked little squeeze bottles, oh no. Not our style. We had Soda Ash, Urea and Synthrapol Detergent. Say that three times fast, and no, those aren’t cures for medieval diseases! My friend does not mess around.
While the kids did a creative project (Xbox) we mixed the soda ash with water in a big tub and soaked all the t-shirts in that solution. It was supposed to “fix” the dyes when they were applied.


*Sorry, it should be noted that we already had sketched heart shapes on our shirts in pencil, stitched along those lines with waxed dental floss and then gathered the floss to make little pouches. The pouches were rubber-banded tightly before soaking.


We next mixed the urea with water. That is the chemical that would be mixed with the dyes to help brighten them. We mixed it with the dye powders and moved on to twirling the shirts.
My guru had a method. She wrung out the soda-ashed shirts, held the heart-stitched pouch up and twirled the rest of the shirts like tops. They looked like Cinnabons. She then rubber-banded the whole package in place, leaving little pie-shaped wedges.
 |
| Like a Cinnabon, right? |
And now the fun. Five kids ages six to eleven and so many bottles of urea-ed-to-permanency-dye.
We started with the disgruntled and downtrodden kids (the ones not “allowed to play this round” on the Xbox) and got their hands nice and gloved. Wow, was that more of an ordeal than I thought! “These gloves are too big,” said the middle child of mine. “I need a rubber band for each wrist,” said the youngest of mine. We quickly complied and commenced dying.
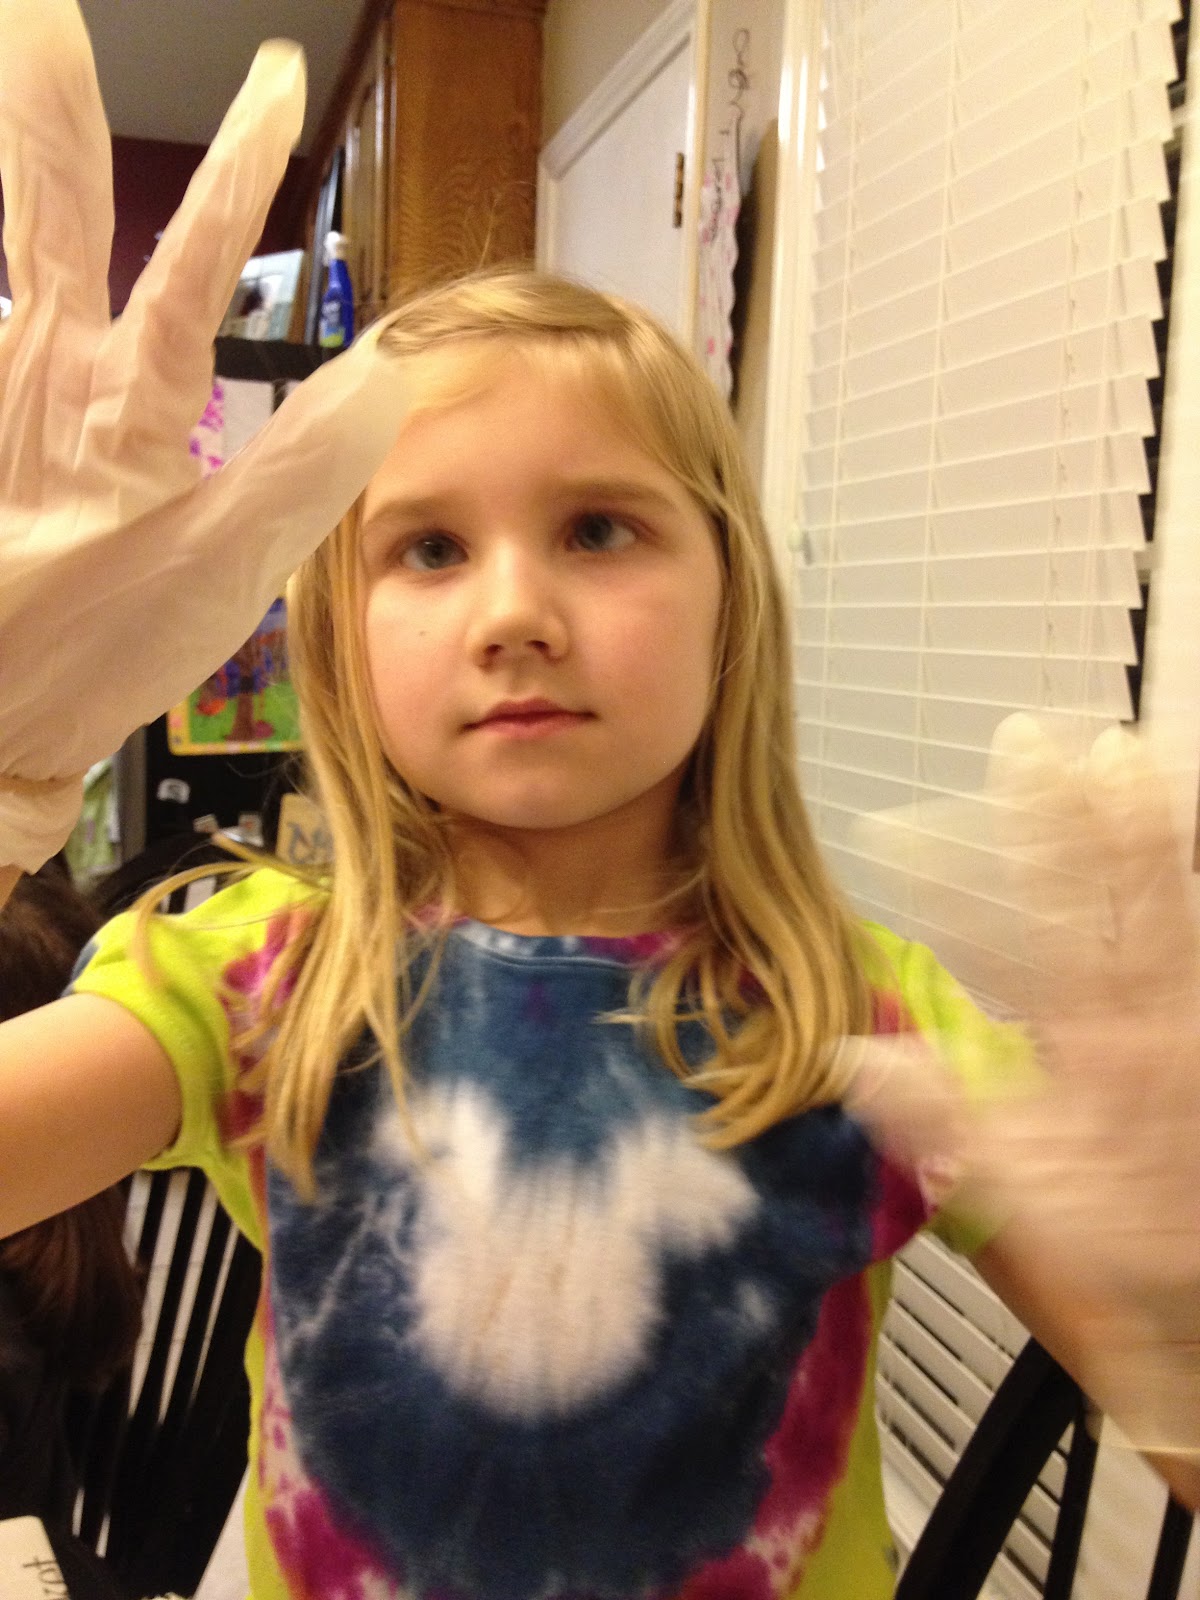 |
| Wearing the shirt we made last time! |


“Why do I have to put a separate color in each wedge?” asked the middle one. “I want to make stripes in each wedge. What happens if I make stripes in each wedge?”
The guru truthfully answered, “I don’t know.”
“Ooohhh, I want to make stripes in each wedge, too,” the youngest chimed in.
So we started adding dye, one color at a time. I looked over at the middle child and she was filling each wedge with its own color. “What happened to stripes in each wedge?” I asked. “I changed my mind!” Shocking. The youngest cheerfully striped hers anyway.
Because of the way the shirts were Cinnabon-ed, they had to have a lot of dye applied to get it through the layers. I mentioned this to the middle child. She replied, “I don’t want to add a lot of dye.” More on this later. The oldest child jumped in here, and in true utilitarian-style, cranked out about eight wedges in 1.6 seconds and declared hers done.

Now there is a lot of squirting of dye bottles, splashing colors on other colors unintentionally, dripping, wiping and resuming of Xbox.


The guru has sons, and instead of maroon, pink and purple with hearts, they opted for a more Mardi Gras-inspired palette of green, purple and maroon. The guru calls it “fuchsia-red” and not “maroon” because the guru is not an Aggie like me.


It really was unfair to have an Xbox so close to tie dying, because the kids were weak. In the end, it was the guru and I who did the most. She wound up dying several extra shirts we had, and we both made our own shirts as well.
Much pizza eating, Xbox-ing and talking took place here. Then we parted ways for the night.
12 hours pass…
The Grand Unveiling!
I held each shirt under cold running water, and then under warm running water with the rubber bands and floss removed. The girls danced around the sink on tippy-toes. They were clamoring, “I wanna see, I wanna see!” I must confess that I, too, felt a little “I wanna see!”
I spread each one out and there were many oohs and ahhs. The middle child was very unhappy. Remember when I said that she did not want a lot of dye? Well, she didn’t use enough toward the middle and her heart looks more like a circle. She did bounce back quickly and said, “We can just paint a doily heart in the middle.” Problem solved.
I took them all up to the washing machine (shirts, not kids) and this is where the synthrapol detergent came in. All the shirts were washed on hot with this to further set the dye.

 |
| Needed more dye |
Whew, It will be a long time before we do this again, but we have added to our collection of really fun Valentine’s Day shirts.
A quick blurb on the gauze-heart shirts: I found this on a great blog icandyhandmade (see in blog list to the right). This went quickly from a mom-and-kids project to a mom-only project. The stretchiness of the t-shirts combined with the curves of the hearts made for a tough go for little hands. Though the middle child tried valiantly, the shirt kept slipping. I’ll give you bulleted steps if you want to do this. It is really simple for an adult to do and came out super-cute.
2. Pre-wash it.
3. Buy and pre-wash natural muslin, gauze (not cheesecloth) or loose-weave linen.
4. Find a heart shape you like and trace it with pencil onto square of fabric.


5. Trim to about an inch around the heart image on the fabric.


6. Pin the fabric to the front of the shirt.

7. Stitch along drawn lines.


8. Carefully trim fabric to within ¼ inch of sewn lines. DO NOT CUT SHIRT!!!!

9. Wash and dry shirt.


10. The fabric should start to ravel up so it looks like chenille lines.


11. Put it on a kid or yourself!


No comments:
Post a Comment